
Grimoires Era World Map and NPC Locations
Find quest givers, travel stops, and landmarks in Grimoires Era, from the services around Hayvale’s starting church to the Great Library inside the Tower.
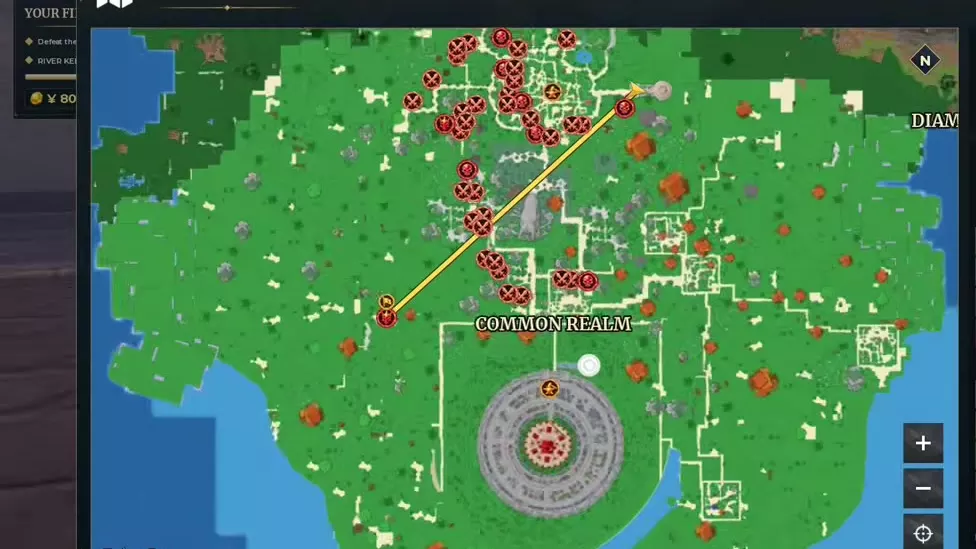
Press **L** on PC or click the upper-right minimap. Turn on the layer for your target, zoom in, and select its marker. Check the name and distance, choose **Set Route**, then follow the route to the entrance or interaction prompt.
Map Layers and Landmarks
Drag to pan the map. Scroll, double-click, or use + and − to zoom. The location control sits beside the zoom buttons. Use the legend on the right to hide layers you don’t need, especially where several markers overlap.
| Layer | What to look for |
|---|---|
| NPCs | Services and quest givers |
| Active Quest | Current quest objective |
| Party | Teammates |
| Dungeons and Raids | Purple dungeon markers |
| Bosses and World Bosses | Red skulls |
| Chests | Map Chests |
| Ores | Mineral deposits |
| Crafting Stations | Stations such as Forge |
| Travel Points | Fast Travel portals |
| Mob Areas | Crossed weapons |
| Other Players | Other players’ positions |
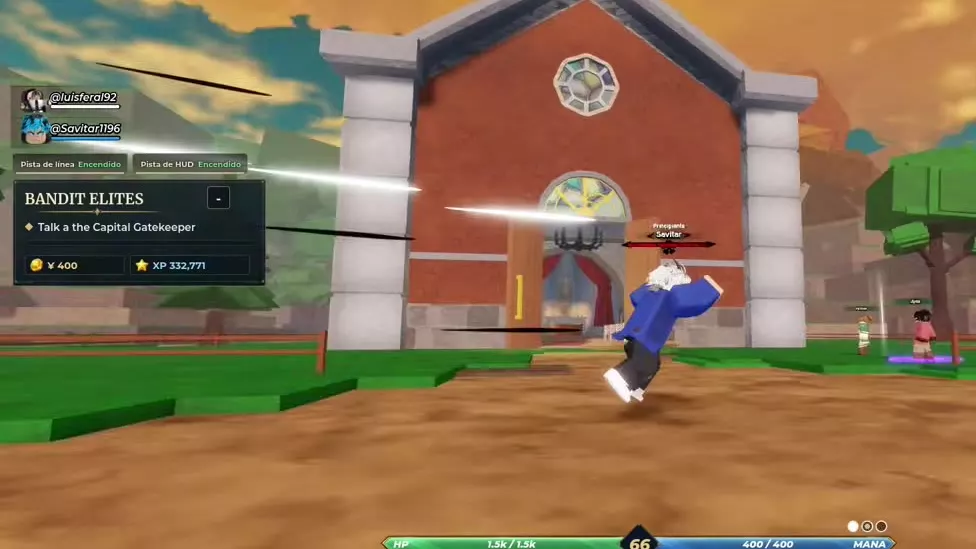
For an active quest, turn on Active Quest on the map. In the quest window, Line Track draws a direct line to the objective and HUD Track puts a target marker on screen. If Line Track switches off after the early quests, turn it back on in that window. To find a teammate, enable Party and select their marker to see the distance and route option. For an ordinary enemy group such as Bandit Scouts, look under Mob Areas.
Locations and NPC Directory
Use the location and level columns to narrow down your destination. Open a name for its service, quest, or entrance details. On the map, the NPCs legend distinguishes Common, Repeatable, Quest, and Special markers. Fynhal and Old Hermit have Common markers. Grimoire Guardian (Lv. 30) and Capital Gatekeeper (Lv. 60) have Repeatable markers, while Cursed Pilgrim (Lv. 700) has a Quest marker.
In Hayvale, look for Fynhal at the glowing travel portal by the starting church and Ayla beside the Fast Travel point. Exit the starting building and look left for the Broom Instructor beside a house. Bandit Hunter stands near the fields with an exclamation mark. As you approach an NPC, press E when the interaction prompt appears.
If you know the quest name, open Quests from the red icon beside chat and select the quest to see its area and NPC. For Rogue Mage, look for Village Elder in Common Realm. Above NPCs in the world, a yellow Main Quest marker leads to the story and a green Job marker leads to repeatable work. For side quests, orange marks a one-time task and green marks a repeatable task.
Find landmarks, travel destinations, services and quest givers.
46 objects
|
|
— | — | — |
|---|---|---|---|
|
The starting village has a travel portal near the church and a Broom Instructor near the starting houses.
|
|||
|
|
— | — | — |
|
The Transport Guild lists this destination with the arrival area Eastern Camp.
|
|||
|
|
— | — | — |
|
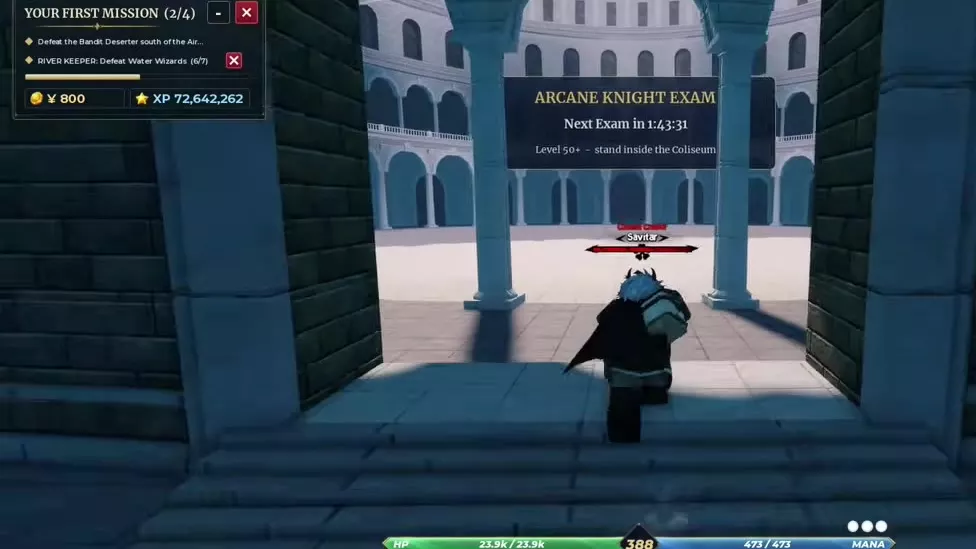
An arena in Air Capital houses the Arcane Knight Exam board. Fast Travel arrives outside the entrance.
TipsFast Travel arrives outside the Colosseum. Walk inside before the Next Exam countdown ends. |
|||
|
|
— | — | — |
|
A level-gated destination on the Transport Guild’s Fast Travel menu.
|
|||
|
|
— | — | — |
|
A level-gated destination on the Transport Guild’s Fast Travel menu.
|
|||
|
|
— | — | — |
|
A level-gated destination on the Transport Guild’s Fast Travel menu.
|
|||
|
|
— | — | — |
|
A level-gated destination on the Transport Guild’s Fast Travel menu.
|
|||
|
|
— | — | — |
|
An overworld region reachable by flying across the terrain beyond Arena. The Mana Dungeon route can take you to a waterfall portal in this area.
TipsEnter Air Kingdom to end a reputation hunt. A Player Killer remains open to player attacks there and can only retaliate. |
|||
|
|
— | — | — |
|
A labeled overworld area you can reach by traveling over the fields and woods from Hayvale.
|
|||
|
|
— | — | — |
|
A map and minimap landmark near a road leading toward the Tower.
|
|||
|
|
— | — | E At the portal |
|
A Transport Guild NPC who provides access to Fast Travel at glowing portals in Hayvale and the Great Library.
|
|||
|
|
— | — | E When near the instructor |
|
An NPC beside a house near Hayvale’s starting area gives the Broom Materials quest and starts Flight Training.
|
|||
|
|
Hayvale | — | — |
|
A quest giver near the Hayvale fields who offers Defeat Bandits and appears in Ashes on the Road. |
|||
|
|
Common Realm | 10 | — |
|
A quest giver beside a wooden fence who sends players to defeat six Bandit Scouts.
|
|||
|
|
Common Realm | 16 | — |
|
A quest giver who sends players to defeat the Bandit Chief at his camp.
|
|||
|
|
Common Realm | — | — |
|
A Common Realm quest giver who asks players to clear Bandit Brutes that are damaging caravan wagons. |
|||
|
|
Common Realm | 26 | — |
|
A repeatable quest giver who asks players to stop Rogue Mage from teaching magic to the bandits.
|
|||
|
|
Common Realm | 30 | — |
|
A repeatable quest giver who sends players into a cave to defeat the Grimoire Thief.
|
|||
|
|
Common Realm | 40 | — |
|
A guard who gives the Bandit Veterans job and directs players to the nearby enemies.
|
|||
|
|
Common Realm | 46 | — |
|
A quest giver who sends players to defeat the Bandit Warlord.
|
|||
|
|
Common Realm | 50 | — |
|
A quest giver who assigns the eight-enemy Bandit Raiders objective.
|
|||
|
|
Common Realm | 60 | — |
|
A repeatable quest giver who assigns the eight-enemy Bandit Elites objective.
|
|||
|
|
Common Realm | — | — |
|
The giver named in the quest tracker for Defeat Boars, a five-Boar objective in the Common Realm.
|
|||
|
|
Common Realm | — | — |
|
A quest giver by the fenced Boar Boss camp. His boss objective can be accepted again after a clear. |
|||
|
|
Wooded wizard area | 90 | — |
|
An interactable NPC in the wooded wizard area, near Ward Keeper. |
|||
|
|
Wooded wizard area | 110 | — |
|
A repeatable quest NPC in the wooded wizard area. The active Ward Keeper tracker covers a Corrupted Wizard hunt and an Iron Ore objective.
|
|||
|
|
Common Realm | — | — |
|
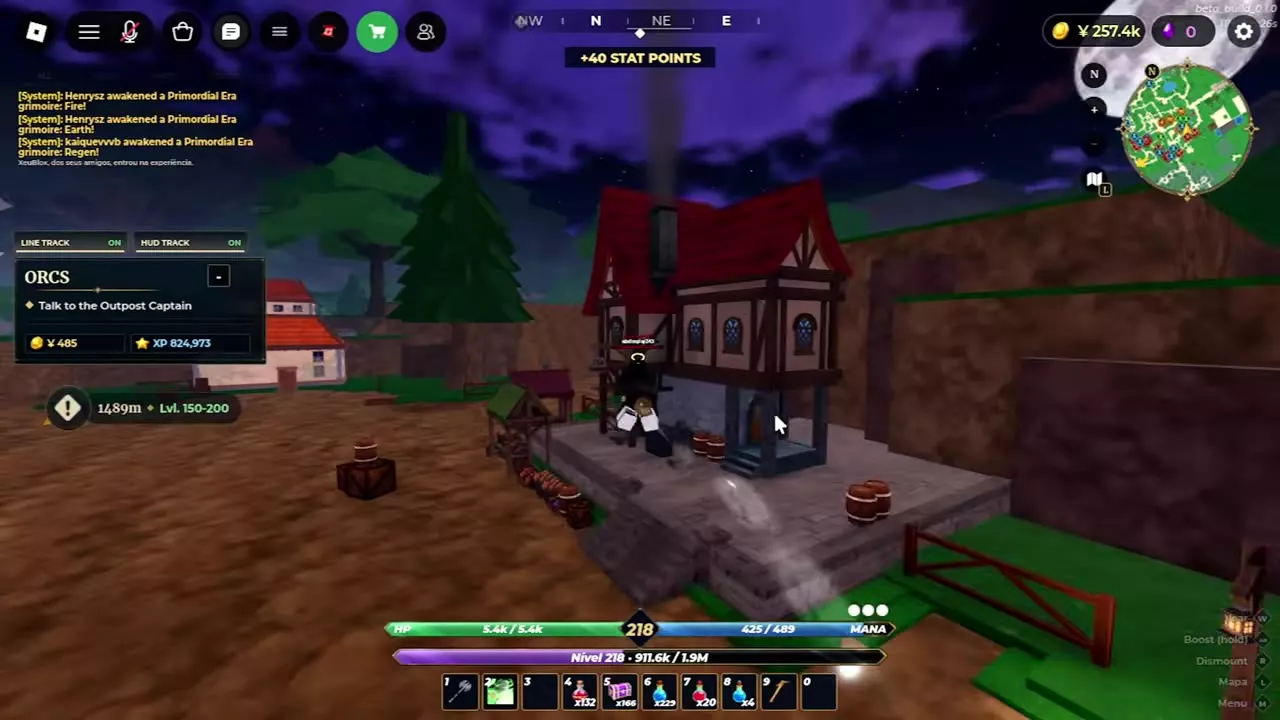
The NPC players are directed to speak to for the level 150–200 Orcs quest.
|
|||
|
|
Common Realm | 200 | — |
|
A repeatable quest giver who asks players to defeat the Orc King.
|
|||
|
|
— | 20 | — |
|
An NPC marked as a repeatable quest giver on the world map. |
|||
|
|
— | 620 | — |
|
An NPC with a level 620 repeatable quest marker on the world map. |
|||
|
|
Hayvale | — | — |
|
A Hayvale NPC who introduces Grimoire Awakening Day. Return to him after the tutorial Bandit fight to continue to the Great Library.
|
|||
|
|
Hayvale First Day encounter | — | — |
|
A story NPC who appears after the opening Bandit fight. He later invites eligible players to the Arcane Knight Exam.
|
|||
|
|
Hayvale fields First Day encounter | — | — |
|
A character who calls for help during the opening Bandit encounter. Choosing Intervene to help her starts the tutorial fight. |
|||
|
|
— | — | — |
|
The circular library hall in the Grimoire Tower hosts the first grimoire awakening. Its arched entrance leads to the hall lined with bookshelves.
|
|||
|
|
Hayvale | — | E Keyboard |
|
A character customization NPC near the Fast Travel point in Hayvale. Interacting with her opens the appearance editor.
|
|||
|
|
— | — | — |
|
A mining cave with Iron and Coal deposits. Mining its Iron deposits can advance Ward Keeper's Mine Iron Ore objective.
TipsRead the deposit name before mining. Iron advances Ward Keeper’s four-Iron objective; Coal gives a different material. |
|||
|
|
— | — | — |
|
A cave marked on the world map near a Mine Iron Ore quest marker. |
|||
|
|
— | — | — |
|
A named cave marked on the world map. |
|||
|
|
City gate Blacksmith | — | — |
|
A Blacksmith's crafting station opened through an anvil at the city gate. It has Craft and Upgrade tabs.
|
|||
|
|
— | — | — |
|
A crafting counter for Health and Mana potions and Funzy Juice. Its menu displays the output, effect, and required ingredients for the selected recipe.
|
|||
|
|
Hayvale, near the starting church | — | — |
|
A rotating set of shelves near Hayvale's starting church. Players buy stocked items at the shelf.
|
|||
|
|
Hayvale Market Stall | — | — |
|
A Hayvale merchant who opens a fixed shop for potions, Healing Crystal, and Wood Pickaxe.
|
|||
|
|
Giant skull near Grimoire Tower | — | E When standing near the table |
|
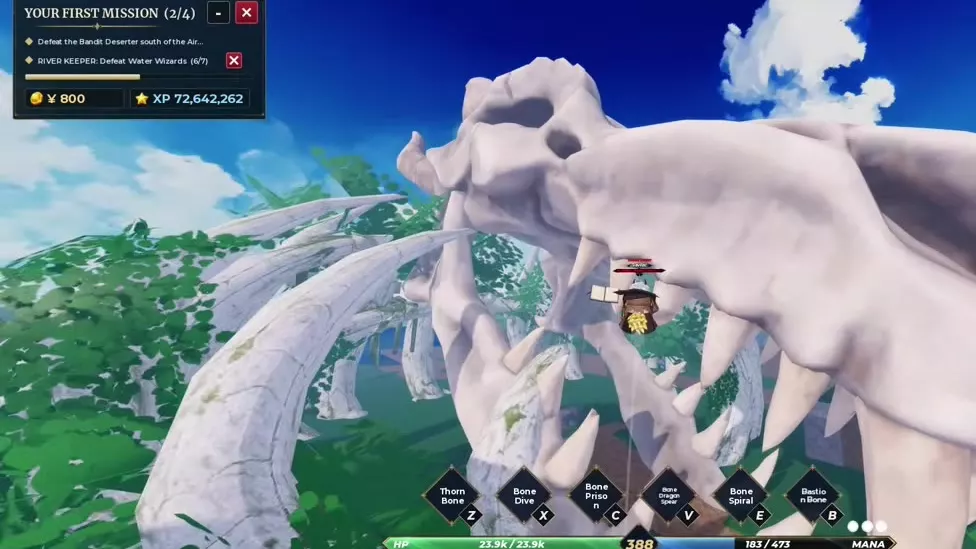
A table inside the giant skull that uses a Reading Lens to reveal an Unknown Relic's identity.
|
|||
|
|
— | — | E At the center of the altar |
|
A circular altar with a ritual interaction for summoning a demon for a Pact duel.
|
|||
|
|
Air Kingdom back alley | — | — |
|
A hooded NPC in an Air Kingdom back alley who clears Player Killer skulls for payment. A quest directs Player Killers to him.
|
|||
|
|
Near Hayvale | — | — |
|
The tower near Hayvale houses the Spin Grimoire interface. Players use it to roll, exchange and store grimoires.
|
|||
Set a Route and Recognize the Entrance
- Select the marker and read its name, category, distance, and level where shown.
- Choose Set Route. Close the map and follow the yellow route guide. Use the minimap to keep your bearings.
- To remove the guide, reopen the marker and choose Clear Route.
Entrances and landmarks
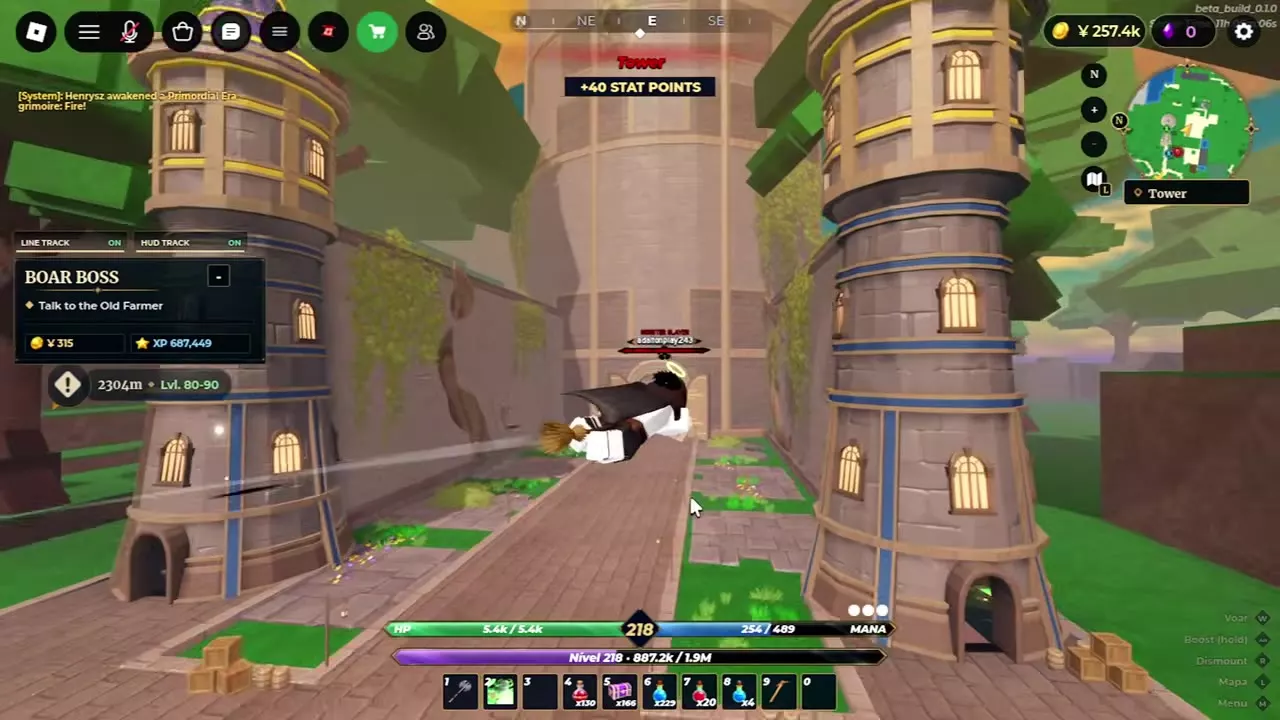
- Grimoire Tower and Great Library. Look for Tower near Hayvale. Follow the road out of the village, pass between the two smaller towers, and go through the main tower’s large archway. The Great Library is the circular room lined with bookshelves. Mystical Tree is a minimap landmark near a road toward the Tower. Inside, look for Spin Grimoire and Era Craft. If you arrive by Great Library Fast Travel, follow the stairs inside toward Spin Grimoire.
- Forge. Enable Crafting Stations and select Forge. From Hayvale’s starting area, follow the road straight ahead, then turn right toward the red-roofed smithy by the city gate. Press E at the blacksmith’s anvil to open the Forge.
- Study Table. From the Tower area, head toward the giant skull and enter through its mouth. Approach the table inside and press E at Study. The table uses a Reading Lens to identify an Unknown Relic.
- Slate Cave, Quest Cave, and Hidden Cave. Use the cave labels and the Ores layer to get your bearings. Slate Cave has Iron and Coal. If Ward Keeper’s Mine Iron Ore marker points near Quest Cave, you can still advance the objective by mining deposits named Iron in Slate Cave. Hidden Cave has its own map label.
- Mana Dungeon. Turn on Dungeons and Raids and look for the purple Mana Dungeon marker. At the waterfall, look for the blue portal and the green circle in front of it.
- Arena and Colosseum. Reach the overworld Arena label by flying over the fields and woods from Hayvale. For the Colosseum, choose its Fast Travel stop in Air Capital. You arrive outside. Walk through the entrance to find the Next Exam board. To join the Arcane Knight Exam, be at least Lv. 50 and stand inside when the countdown ends.
Boss landmarks
Look for Bandit Chief in the wooden palisade camp by a windmill and Boar Boss (Lv. 80) near the large skull in the south. Grimoire Thief (Lv. 30) is in a Common Realm cave, and Orc King (Lv. 200) is also in Common Realm. For Witch Queen (Lv. 1,000), zoom out and pan north on the Air Kingdom map. Elf Leader has a World Boss marker, and its route from Hayvale passes through Air Kingdom.
Map Chests and Reward Chests
- Map Chest. Enable Chests, select the chest marker, and look for Map Chest on its card. Check the distance and choose Set Route.
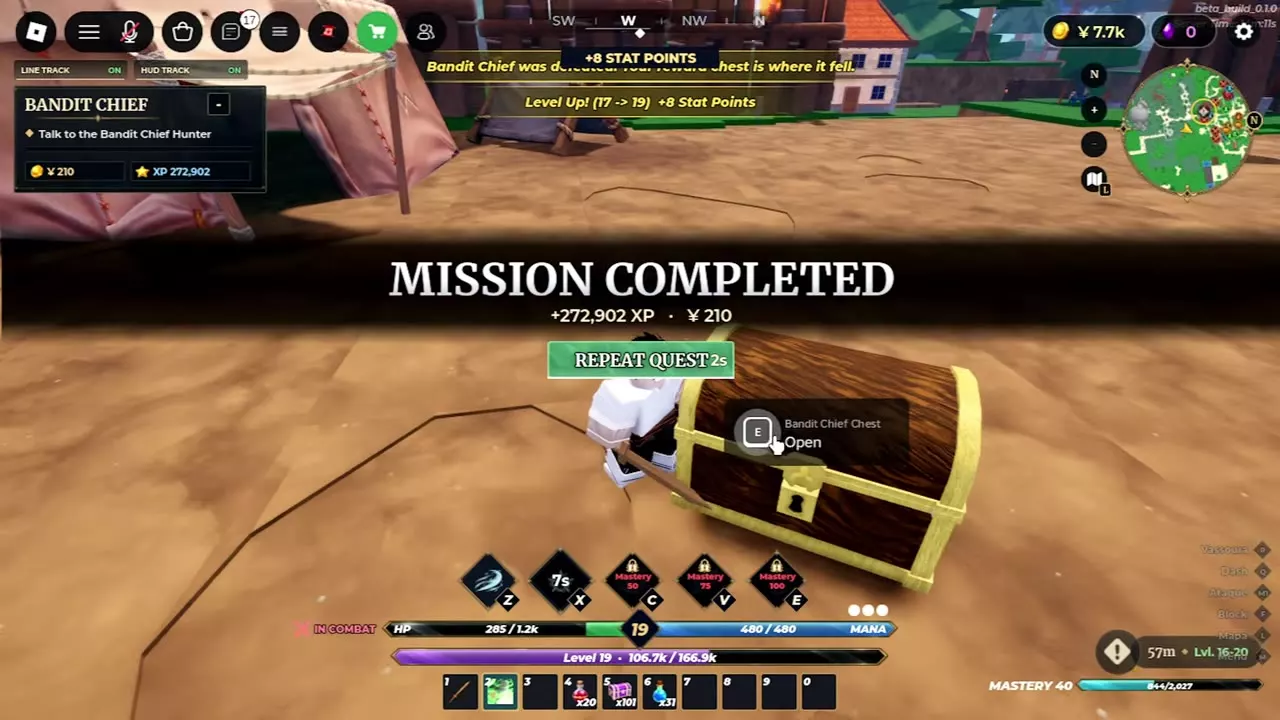
- Boss reward chest. When the defeat message announces a reward chest, go to the spot where the boss fell and press E at Open. This is where the chests for Bandit Chief, Rogue Mage, Grimoire Thief, Bandit Warlord, and Boar Boss spawn.
- Mana Dungeon personal chest. After the room counter reaches 6/6, take the passage into the treasure area. Find the glowing chest labeled with your character’s name and press E at Open before the Treasure timer expires.
Travel and Activity Guides
- Use Fast Travel for portal destinations, level requirements, and fares, or complete broom flight training to fly between landmarks.
- Start with the mining guide to equip a pickaxe and work a deposit. For recipes and upgrades at the anvil, see Forge and smelting.
- Use the boss directory to pick a hunt by level or drop. For the waterfall portal, see how to join and clear Mana Dungeon.
- Find work by level in side quests and repeatable jobs, or prepare for the Arcane Knight Exam at the Colosseum.
- Visit Ayla for appearance customization, or bring your relic materials to the Study Table to begin a Demon Pact.
Articles and guides
2Grimoires Era Fast Travel: Destinations, Levels and Fares
Find Fynhal’s portals in Grimoires Era, check Fast Travel fares and level requirements, and learn how to reach each available destination.
Grimoires Era Broom Guide
Get the Basic Broom in Grimoires Era. Find the Hayvale instructor, gather 5 Wild Wheat and 2 Wood, pass Flight Training, and learn the PC and mobile controls.